iOS Remote
OpenLP gives you the ability to control your service from an iOS-based device. The following tutorial will describe how to install and use the application.
Installation
Open the Apple App Store and search for OpenLP. You should find the
OpenLP Remote app. Install this app.
When you start the app, you will initially see the launch screen, followed by the service screen once the app has loaded.
Settings
After the installation is complete and you open the OpenLP Remote app you will need to configure your settings. Open the settings by touching the settings icon in the top left corner.
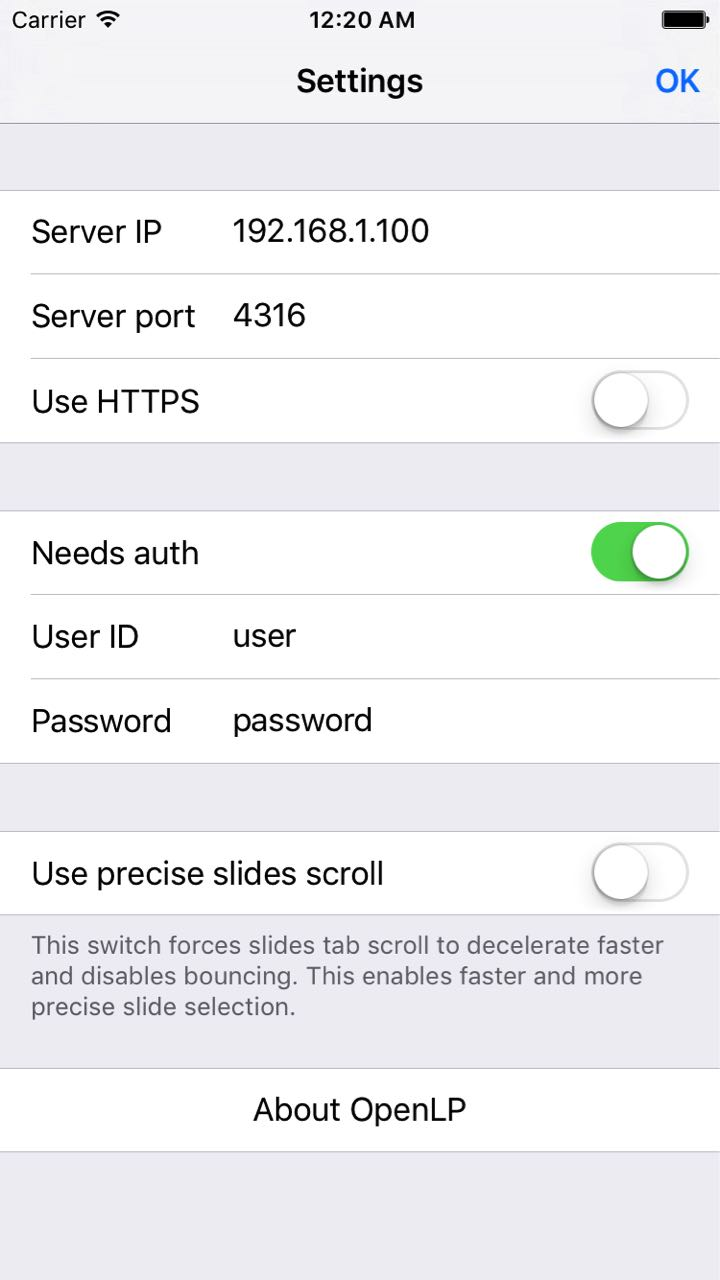
Server Details
You will need to configure the server settings you will use with your device. You can find these instructions and settings in the OpenLP desktop application under Remote Interface.
Note: To use the OpenLP Remote you will need to be on the same network as the main computer.
- Server IP:
Enter the Server on IP address found in Remote Interface.
- Server port:
Enter the Port number found in Remote Interface and enter it in the box. By default this is
4316.
Authentication
- Needs auth:
Tap this switch to enable authentication. Authentication needs to be set up in User Authentication.
- User ID:
Here you can enter a username used for accessing OpenLP remotely. This must be the same as set in User Authentication.
- Password:
Here you can enter a password used for accessing OpenLP remotely. This must be the same as set in User Authentication.
Scrolling
- Use precise slide scrolling:
By default, iOS’s scrolling effects can make scrolling up and down the slides difficult. When tapping this switch you can turn iOS’s scrolling effects on and off, which may result in more precise scrolling.
Using the iOS Remote
After you have completed the setup you are now ready to use the app. At the bottom of the app you can see the Service, Slides, Alert and Search tabs.
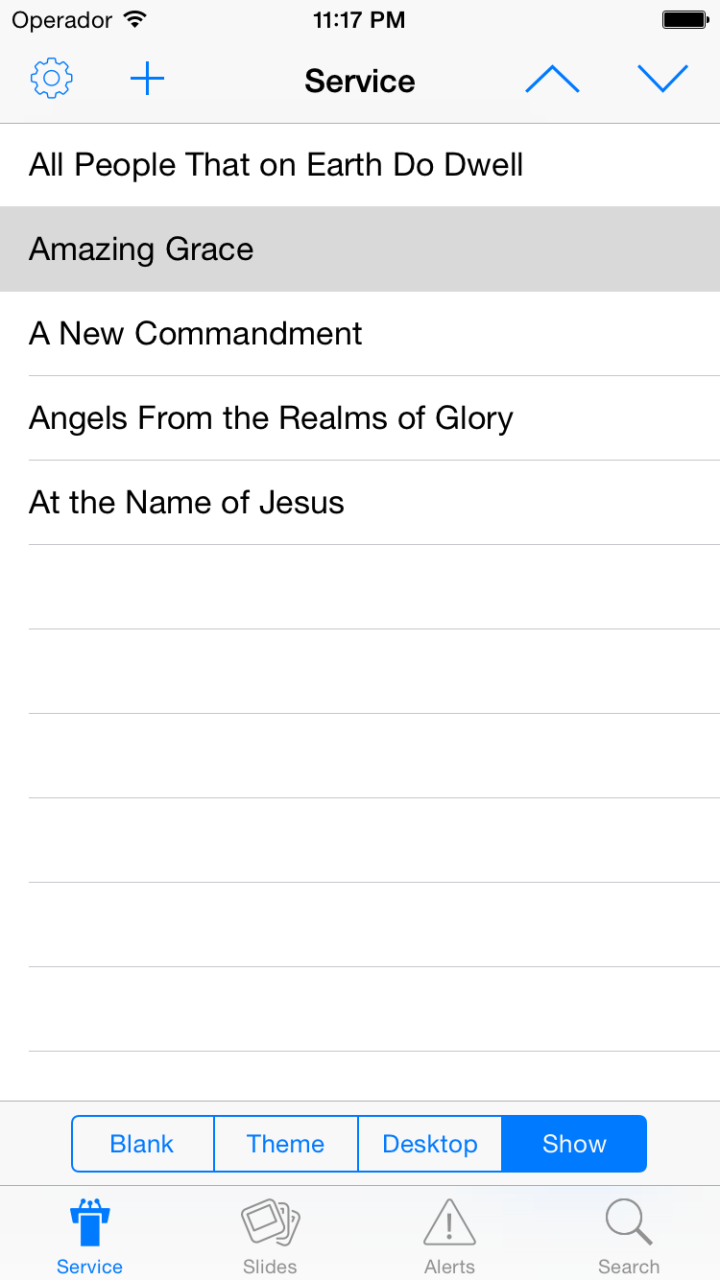
Service
Selecting Service will take you to the Service tab. Selecting an item with a in the service manager will immediately take it live on the projection screen and you will be taken to the Slides screen on your device. You can use the arrows buttons shown on the bottom left and right to move to the next slide inside the item.
Along the bottom of the Service tab you can see buttons that say, Blank, Theme, Desktop and Show. These buttons will blank the display, set it to the current theme, show the main computer’s desktop, or show the currently live item, respectively.
Slides
Selecting Slides will take you to the Slides tab. This displays what ever is live at the moment. You can use the arrow buttons shown on the top right to move to the next slide inside the item.
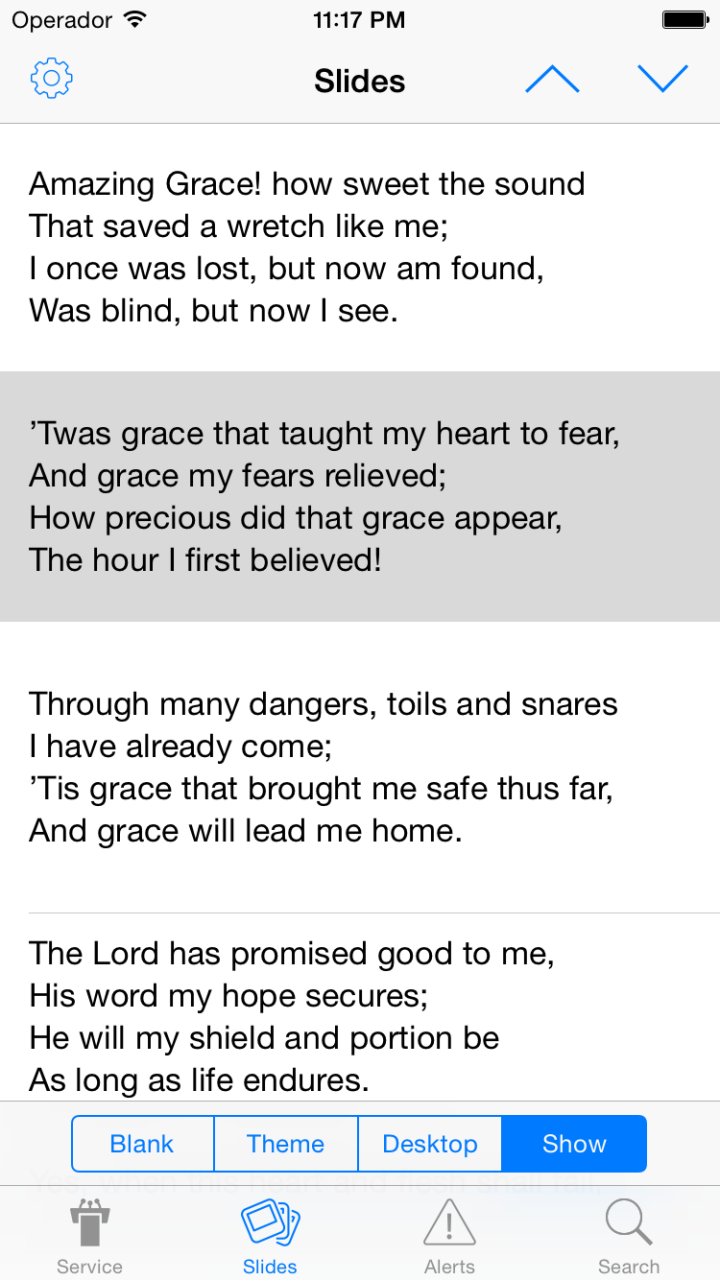
Along the bottom of the Slides tab you can also see the Blank, Theme, Desktop and Show buttons.
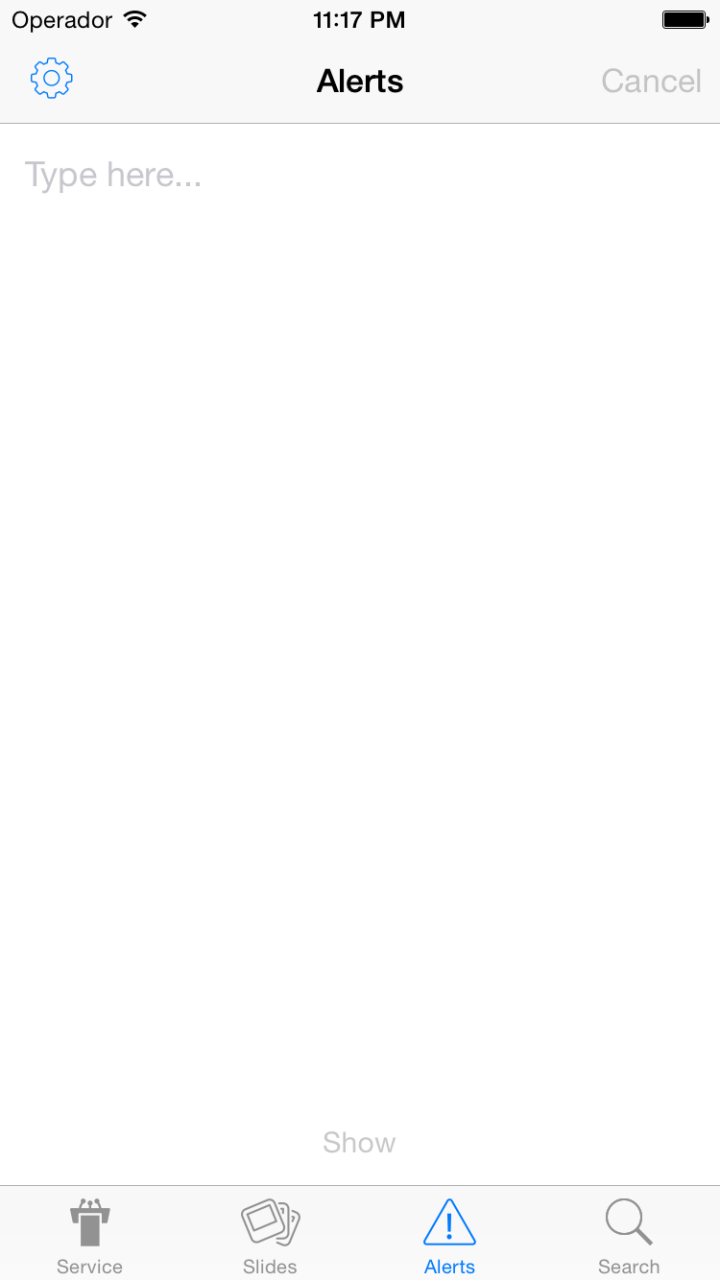
Alerts
To send an alert to the display, touch the Alerts tab at the bottom of the screen. Type in your alert text in the text box and press the show button at the bottom to show your alert in OpenLP. The alert will be displayed as you have it configured in Alerts.
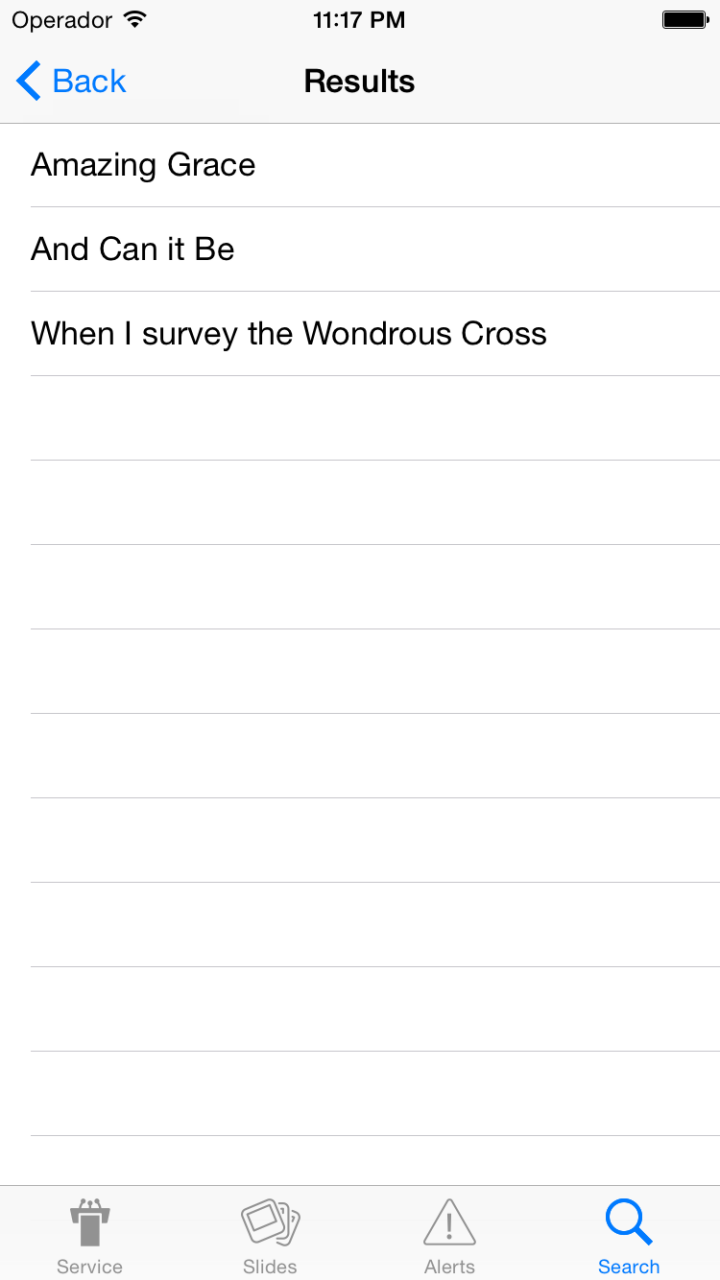
Search
If you want to search for an item that is not currently in your service, press on the Search tab at the bottom of the screen. Type your search term in the search box at the top of the screen, and then select which type of item you want to search for.
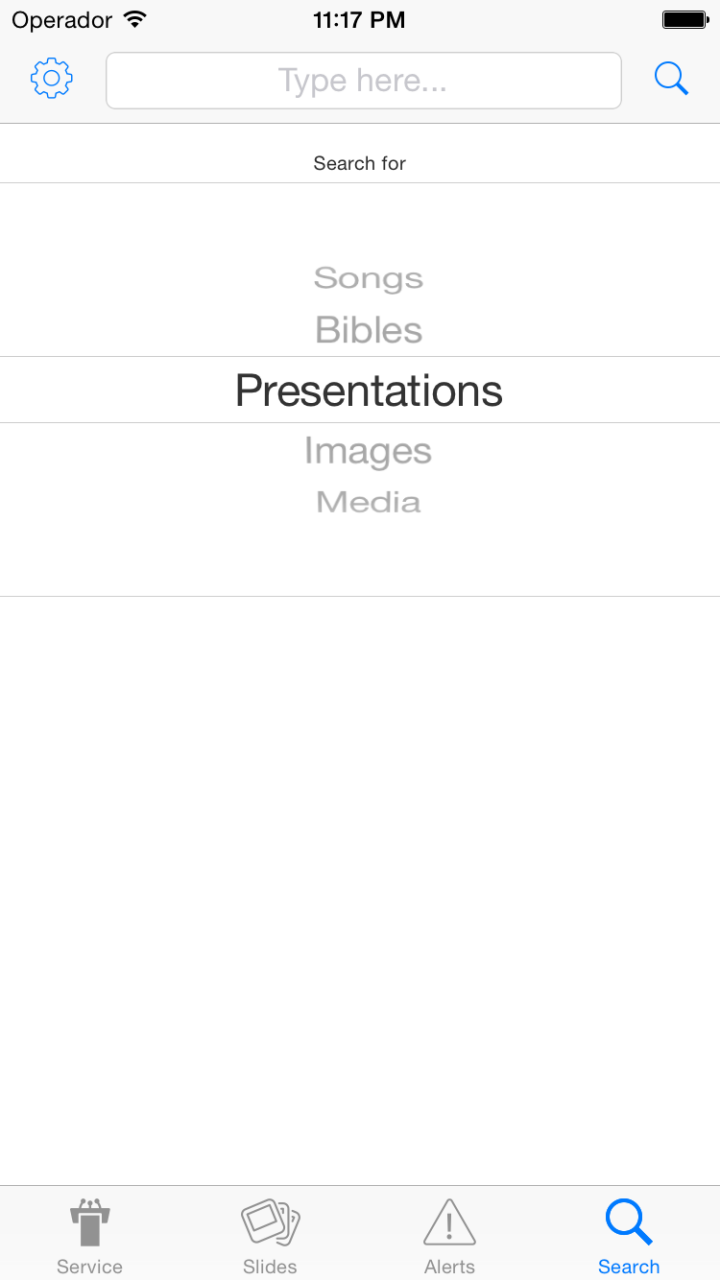
Once OpenLP has finished searching for you, the results of your search will be visible in the search screen. Touch a search result to add it to your service.