Configuring the Main Window
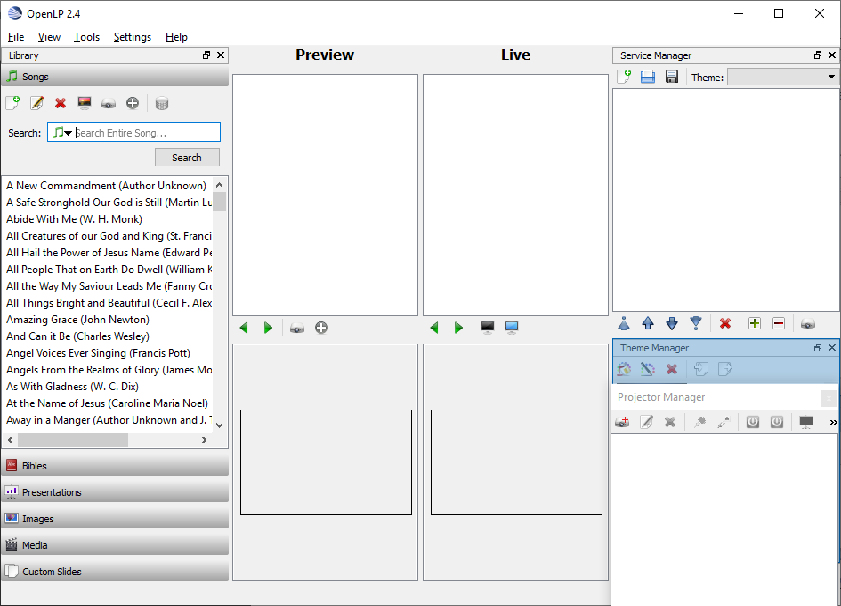
The main window is configurable. By default there are three screen layouts and each can be configured as you desire. To change to one of the screen layouts, use the View menu.
Hiding the window items
The first way to configure the main window is to Hide items that are not used.
If you are not using the Projector Manager, having it open all the time uses up part of the window that could be used for other items. To hide the Projector Manager, or any other item, left click on the ‘X’ in the right corner of the item. You can also use the View menu to hide or show any of the main window items.
Re-Sizing the window items
If you use the item part of the time, you can re-size the item in the same manner you re-size any window on the desktop by placing your pointer over the edge of the item and pulling the edge in or out to re-size the item .
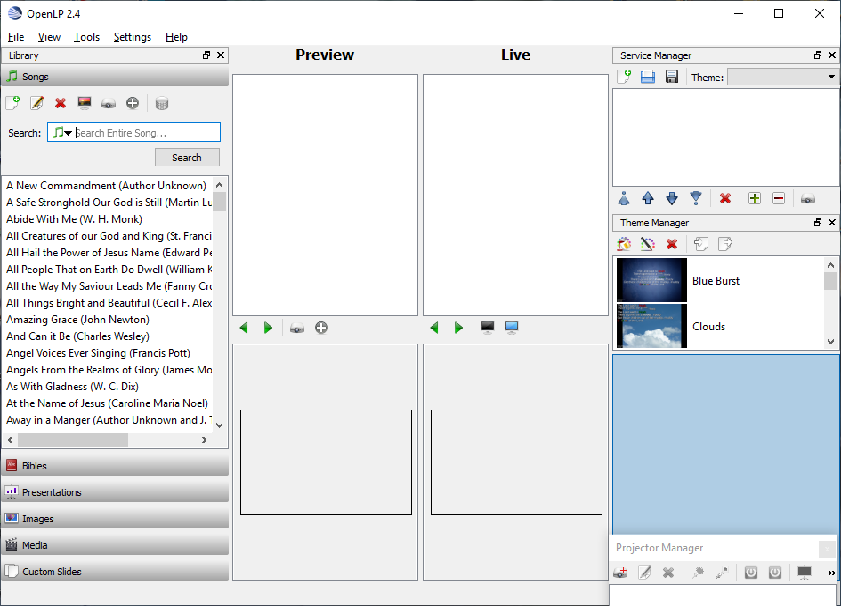
Change the Location of an item in the window
There are four zones the items can be located in addition to keeping the item as a seperate window.
Left Side of the window
Right Side of the window
Top of the window
Bottom of the window
To move an item, move the mouse over the item title bar and press and hold the left mouse button while draging the item to a new location. When the item is in a location that the item can be located at, the area will turn blue to indicate the item can be placed at that location. Releasing the left mouse button will place the item at that location.
Tab Locating an item
By default the items in the main window are located above, below or to the side of other items in the window. Most of the items can also be located in a Tab arrangement. This arrangement allows the item to be full sized, and to be viewed by selecting a Tab at the bottom of another item in the window.
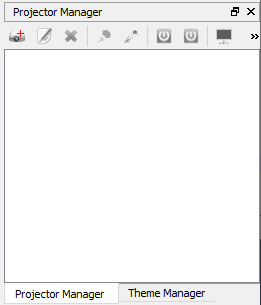
To create a Tab located item, move the mouse over the item title bar then press and hold the left mouse button while draging the item to a new location on top of another item in the window. When the item is in a location that the item can be placed at, the area will turn blue to indicate the item can be located at that location. Releasing the left mouse button will create the Tab location with the item you moved and the item or items displayed in blue.